Sharing teaching resources & clip-art because learning is always an adventure!
Posted by Thetravelingclassrooom
Saturday, July 30, 2016
What is The Traveling Classroom?
Thursday, June 30, 2016
Classroom Decor: Classroom Reveal!
This year we decorated our classroom with a Super Hero Decor theme, which was really fun. In the video above you may notice some of the rooms and our super hero decor. Here are a few more photos for you to look at:)
Thetravelingclassrooom

As we go on our virtual tour of our classroom... you will first walk through the front door and enter into our mud room. This is where rain boots, umbrellas, jackets, and backpacks get dropped off. We also have a friendly little reminder about what our family rules are (they are included in the class rules set)...I added desk name tags to each of the baskets and used the editable bunting to put their names over their cubbies! Ok, now let's go down the hall to our school room.
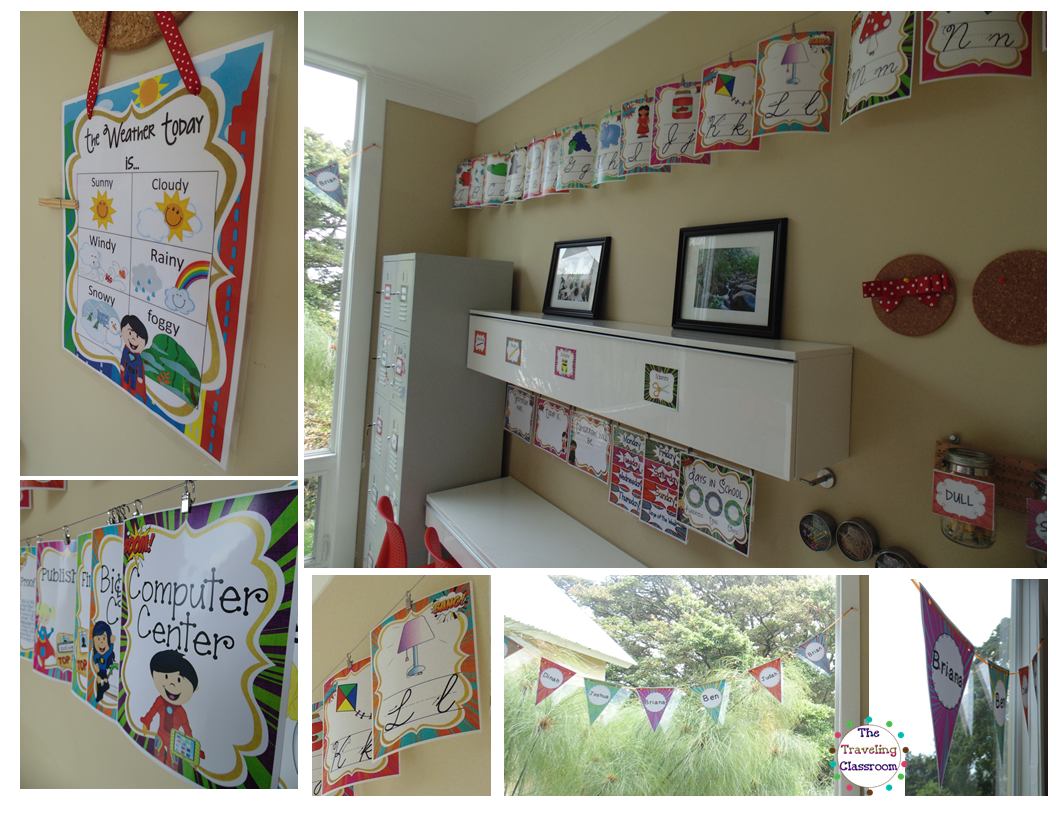
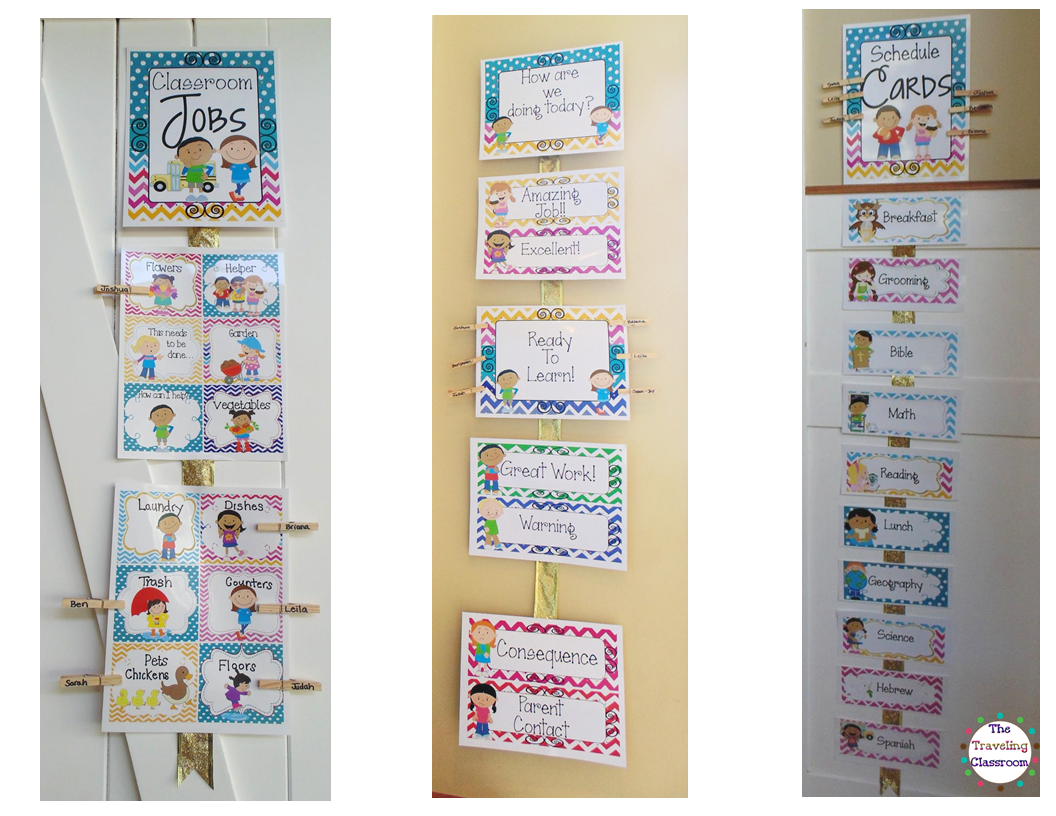
Inside of our school room I have our cursive alphabet posters for quick reference. I used the editable labels for our lockers, overhead storage shelf, and pencil jars. I also have our center posters and writing process posters on the opposite wall, to help me keep track of everyone's progress. Now let's head on over to the kitchen table area:) (This area is everyone's favorite place to work:)

I went ahead and made a bulletin board area on the back wall out of a table cloth, a welcome bunting, and napkins. Everyone wrote their name on a napkin and what they thought their "super power" was. Some put kindness, taekwondo, friendship, art, soccer, etc. One of the first things we talked about is how they all have special gifts, talents, and abilities that make them unique! Thanks for going on a little virtual tour today with us. I hope this inspired you to bring some color and excitement to your "super" classroom this year:)


This is our flashback post from last year with our polka dot chevron decor:
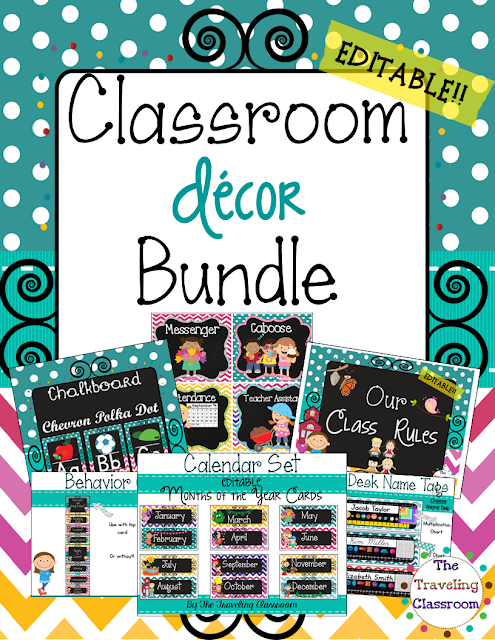
Hi there, welcome to The Traveling Classroom:) As soon as I finished making this adorable bundle of polka dot chevron classroom decor, I immediately went to work on our classroom. I couldn't wait to paint, print, laminate, and decorate!
Let me take you on a little virtual tour...as you walk through the front door you will enter our mud room. This is where rain boots, umbrellas, jackets, and backpacks get dropped off. We also have a friendly little reminder about what our class rules are...


The clip chart below on the right side is a behavior chart. I plan on using it this year to help everyone have good attitudes and also to reward their hard work (or give consequences for their bad behavior).


I added a bunting to our window as a decoration and hopefully to help the birds not hit the window anymore!


(Hot glue is key when decorating, just refuse to use tape and you will save yourself a lot of headaches-I speak from experience:)


Thanks for stopping by and going on a little tour with me:)
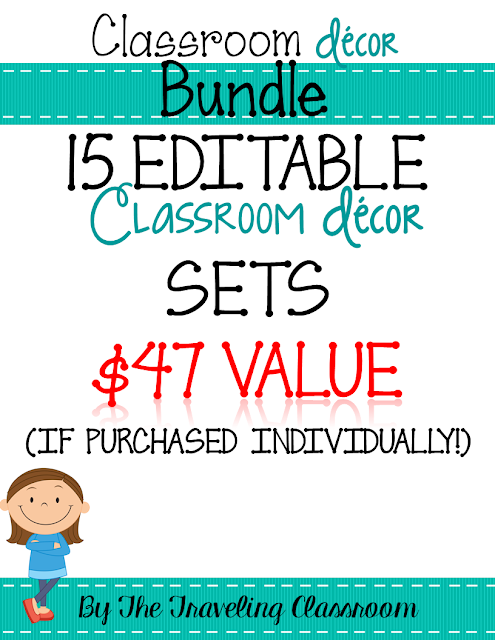
You can grab the Classroom Decor Bundle right now at over 50% off!! Just click on any of the pictures below to get more details:)


Monday, May 23, 2016
5 Reasons I Choose Digital
Let me preface this by saying I absolutely LOVE real books, but sometimes digital is my first choice.
Let me tell you why:
1. It's easy: Buy it online, download it online, print it at home - all from the comfort of your home!
2. It's cheaper: The cost for the publisher is less because they are not paying for the hard good=cheaper for you!
3. Spilling my coffee on it won't ruin it forever (the printed paper not my computer!) - Yes, I can print it over and over again, even if I spill my coffee on it:)
4. I don't have to print everything: I just print the pages I need and we are done!
5. It's easy to travel with: It's all saved in the cloud or on my laptop. Easy to access without the weight!
Tip: Always back up your digital downloads either on a hard drive, cloud, flash drive, or another computer. It's not always easy to retrieve them once your download time expires.
What about you? Are you a fan of the digital age? Why or why not?
Let me share an example. I just bought 9 bundles from the Build Your Bundle 2016 Sale. I only payed $162 for curriculum I will use for the next few years. My younger children will even grow into some of these, so I will use them again. See how cheap I was able to get all this for? ...why? ...because it's digital!! Here is what I bought:


Here's some more examples:

You can also build your own, if you only want a few and looks like this will be the best route for you:


Subscribe to:
Posts (Atom)